Do you need a new pincushion? Maybe a quick gift? Maybe you have a bit of fabric left over from your last project?

Gather your scraps and sketch your design- I find graph paper really helpful but scratch paper works too!

Make sure you include seam allowances (1/4″) when measuring and cutting your pieces:

With right sides together, mark your seam allowances and stitch your pieces together:


When you have the front of your pincushion done:

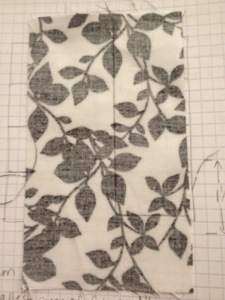
Pin the front to the back, right sides together:

Stitch all the way around, leaving an opening in the center of one side:

Carefully turn right side out through the small opening, fill with stuffing and stitch closed. You can add height by folding each corner and stitching them down:

